CREATING A VIDEO WITH THE NIKON F5
December 19 2021
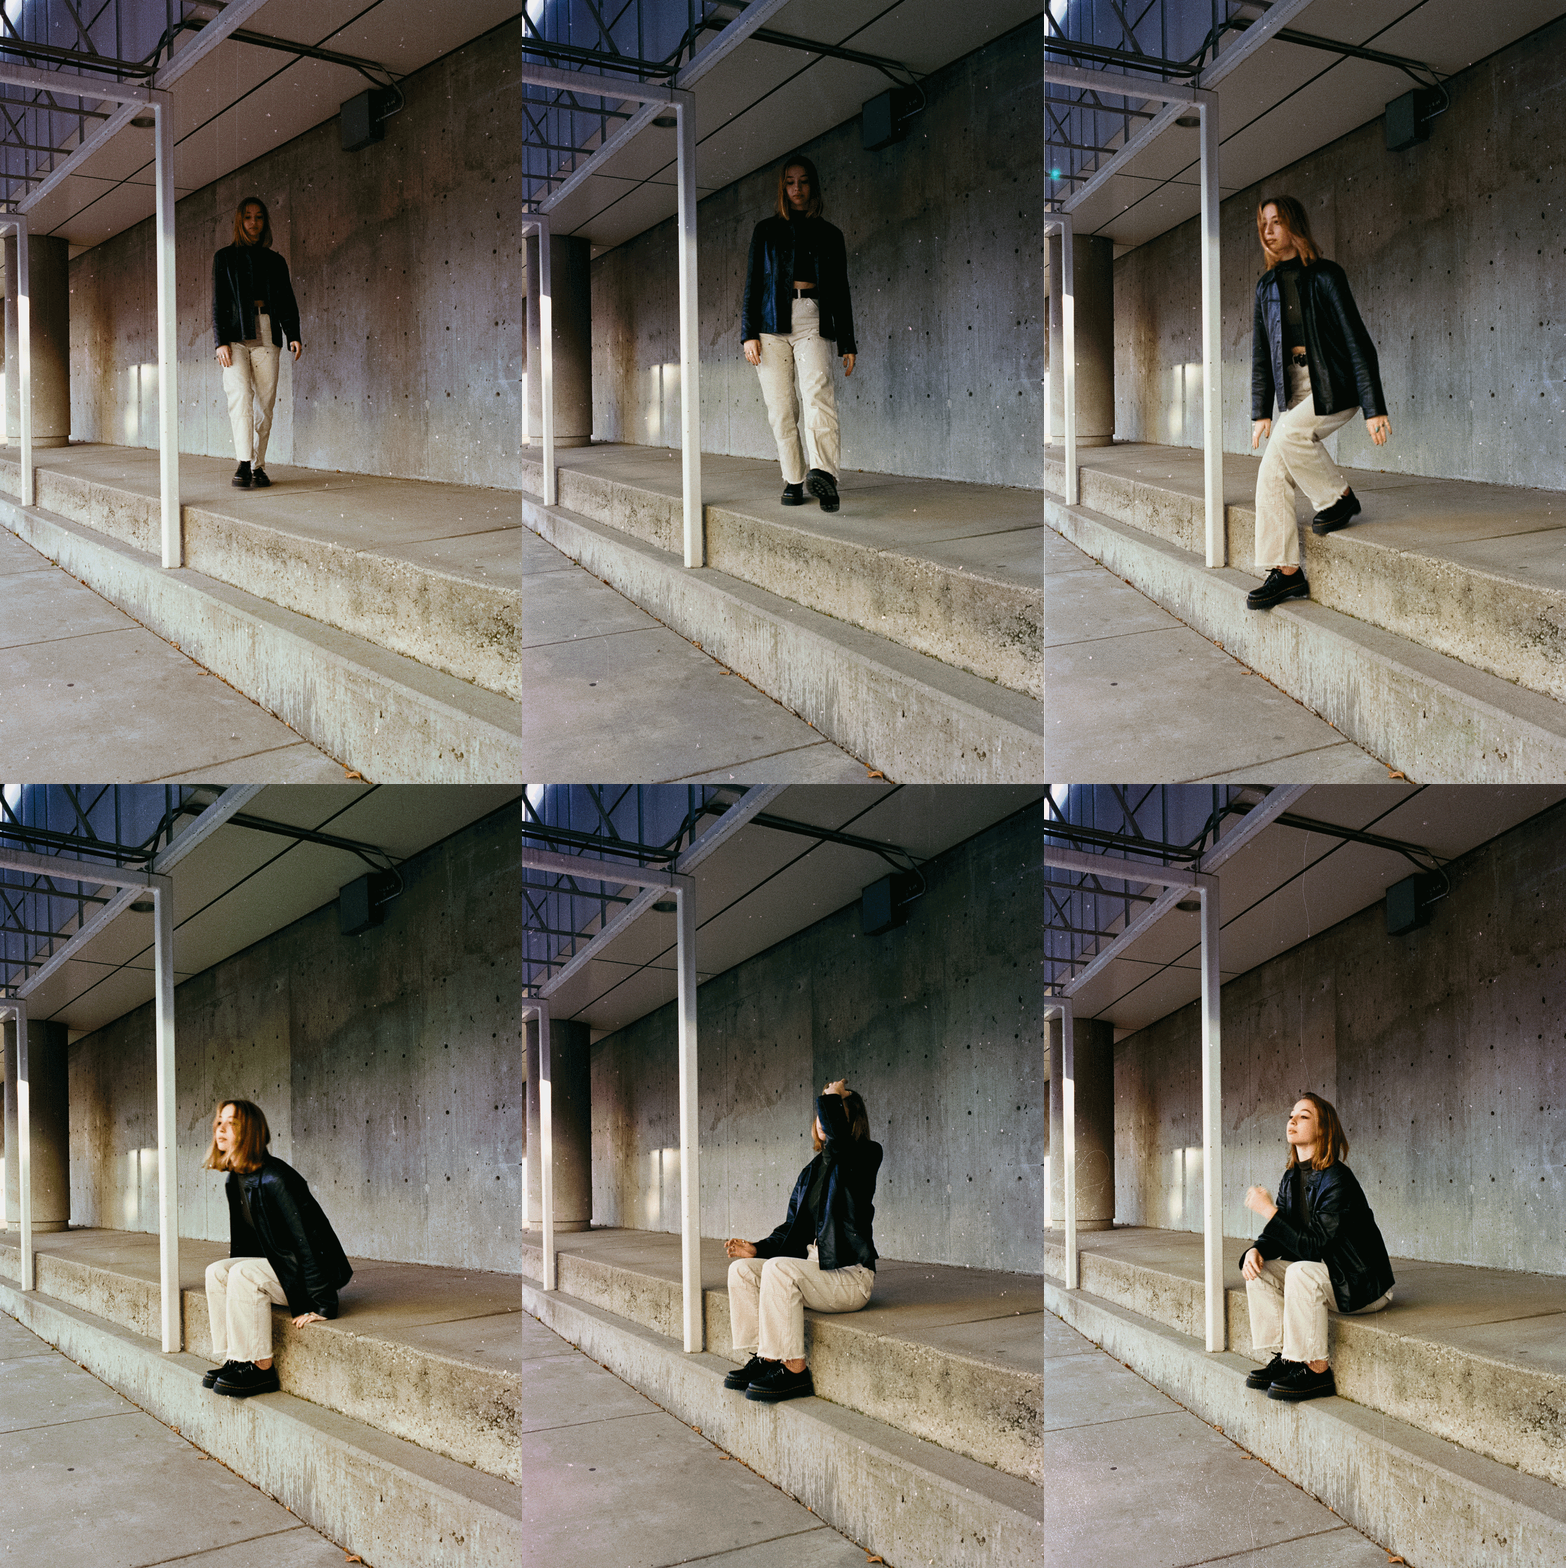
Believe it or not that little video was shot on a 35mm film camera.
To create that effect, I used an F5, which, for this project was basically just slow video camera. Essentially videos are just a sequence of images displayed quickly, so if a camera can capture those images quick enough then the sequence of images will look like normal motion when played back to use. For the most part if a camera takes 30 pictures per second than motion will look smooth. Most modern cameras do this easily and high-end cameras go above and beyond shooting ~120 frames per second depending on resolution. For reference the old Super 8 family videos that you have lying around where shot at something around 18fps… The Nikon F5 boasts a blazingly fast for the time 8fps if you used a battery pack. Mine doesn’t have a battery pack so it shot at about 6-7fps. Below are 3 frames shot back-to-back as you can see it skips a lot of intermediate movements which is why the gif looks “choppy”.
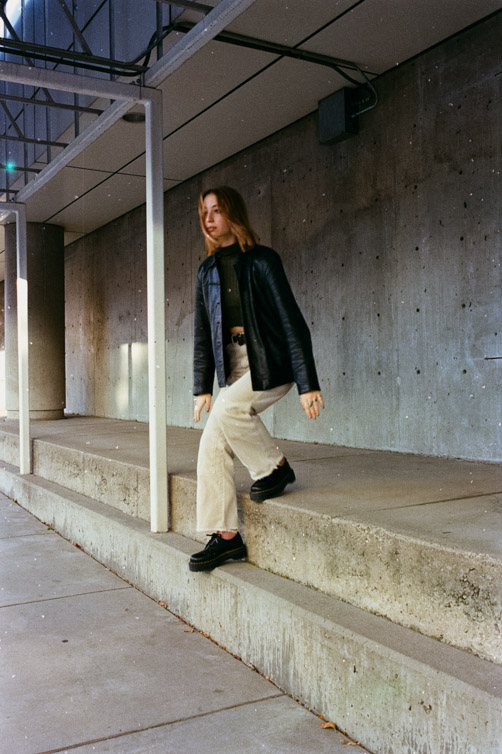
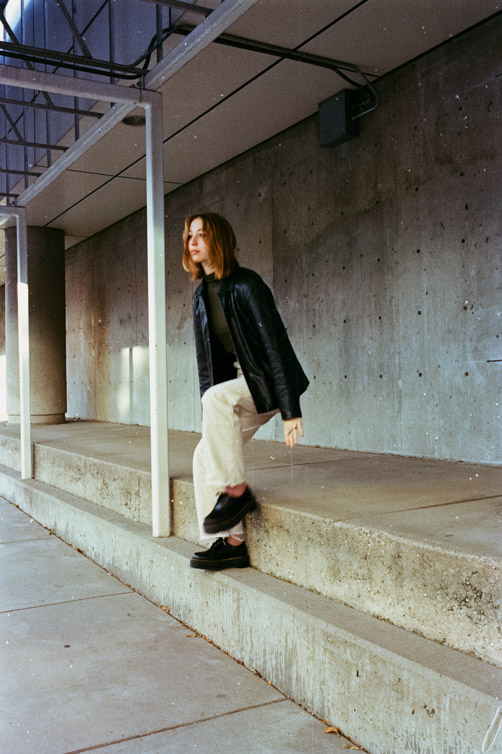
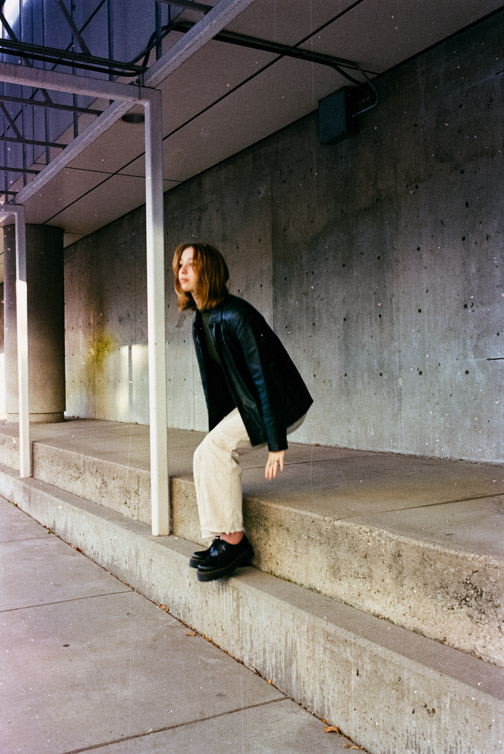
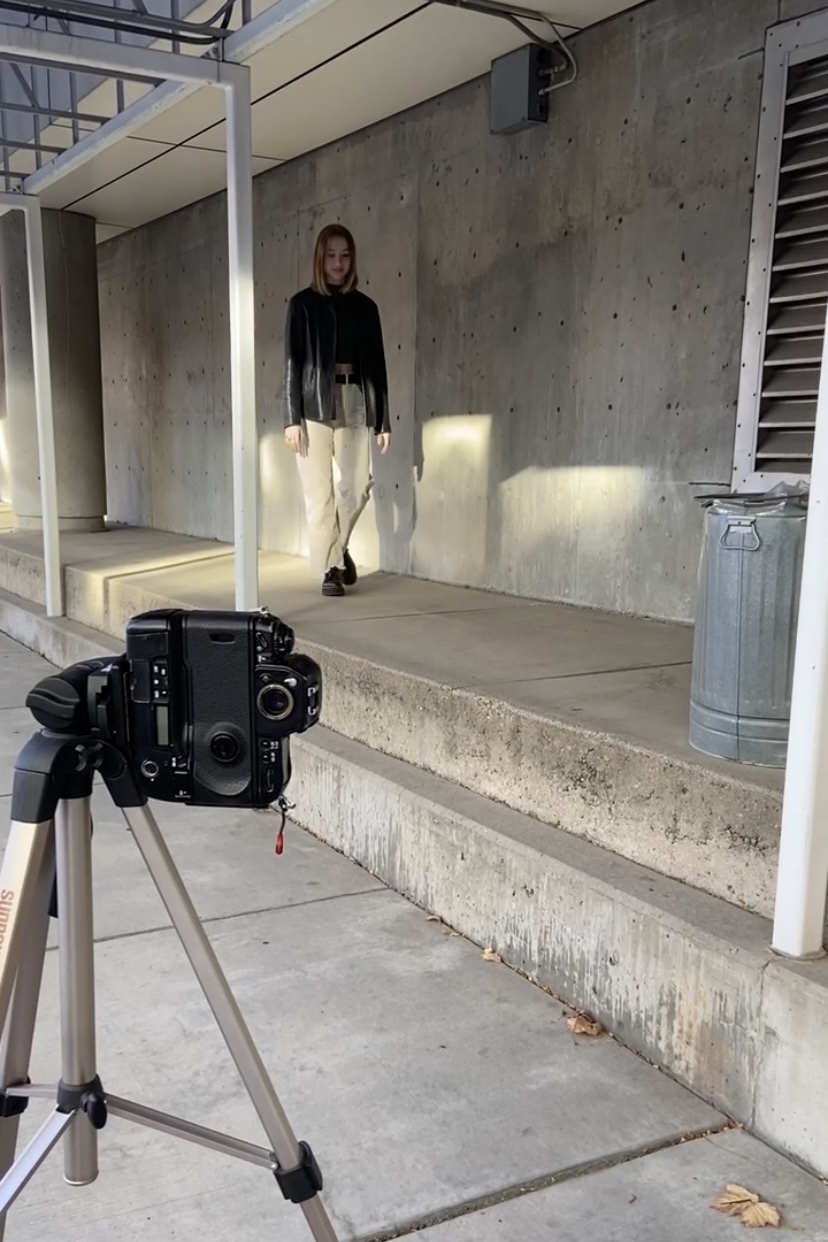
I was more interested in trying to make a movie then the content, so I just had my sister walk into the frame and sit down… nothing too fancy. We found a walkway in SLC and used that as the setting. There wasn’t much direction because the actual ‘filming’ only lasted about 4 seconds so it mostly dependent on me pressing the shutter at the right time than my sister doing things on queue.
Luckily the timing worked out pretty well and I got my sister sitting and running her hand through her hair... I fully expected that I would start shooting to early and end up with some random gif of her walking.
For all of my 35mm and 120 work I use a Plustek Scanner with Negative Lab Pro. The key player is Negative Lab Pro. It is absolutely amazing and if you haven’t looked into it I highly recommend that you do. It’s fantastic for converting individual images, however, I found that it struggled to covert the set of 24 frames the same way. For example, some photos came out too green and others were to cool, even with synced NLP settings. See how all the pictures in this blog have slightly different colors. I’m pretty sure this is because NLP converted each image individually rather than converting the entire batch the same way. There’s probably some setting that I could have changed for a better outcome, but in the end it wasn’t too hard to tweak each image so that they all looked similar.
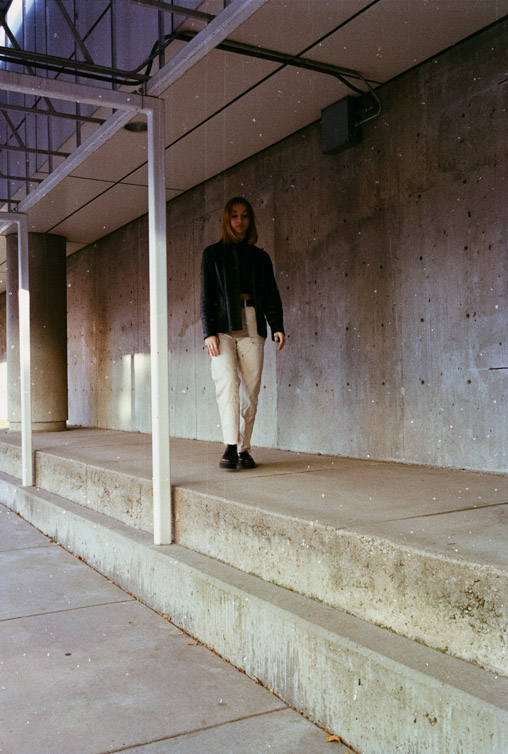
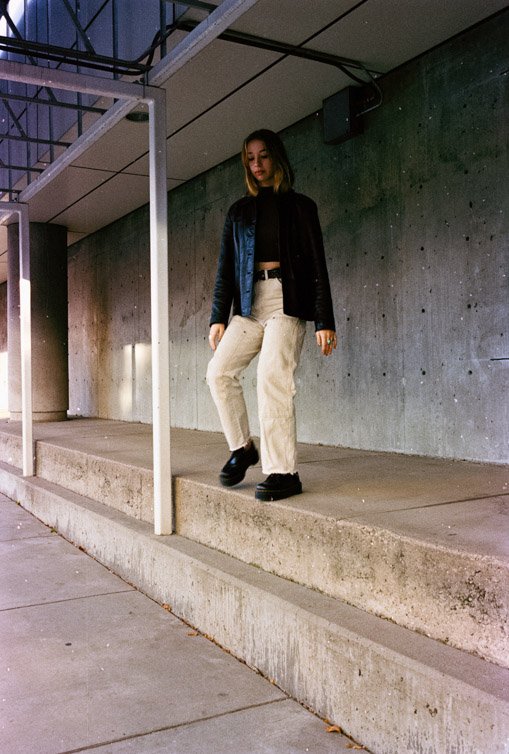
As far as settings and equipment I used a Nikon F5 with a 35mm f2.8 lens and Kodak Ultramax 400, I also used a crappy Amazon Basics tripod that’s barely worth mentioning. I’m pretty sure the lens was at f5.6 or f8 and the shutter speed was at 1/80 of a second. If you have the Nikon battery pack for the Nikon F5 then you can get a full 8fps but I only had AA batteries so my ‘movie mode’ wasn’t as fast.
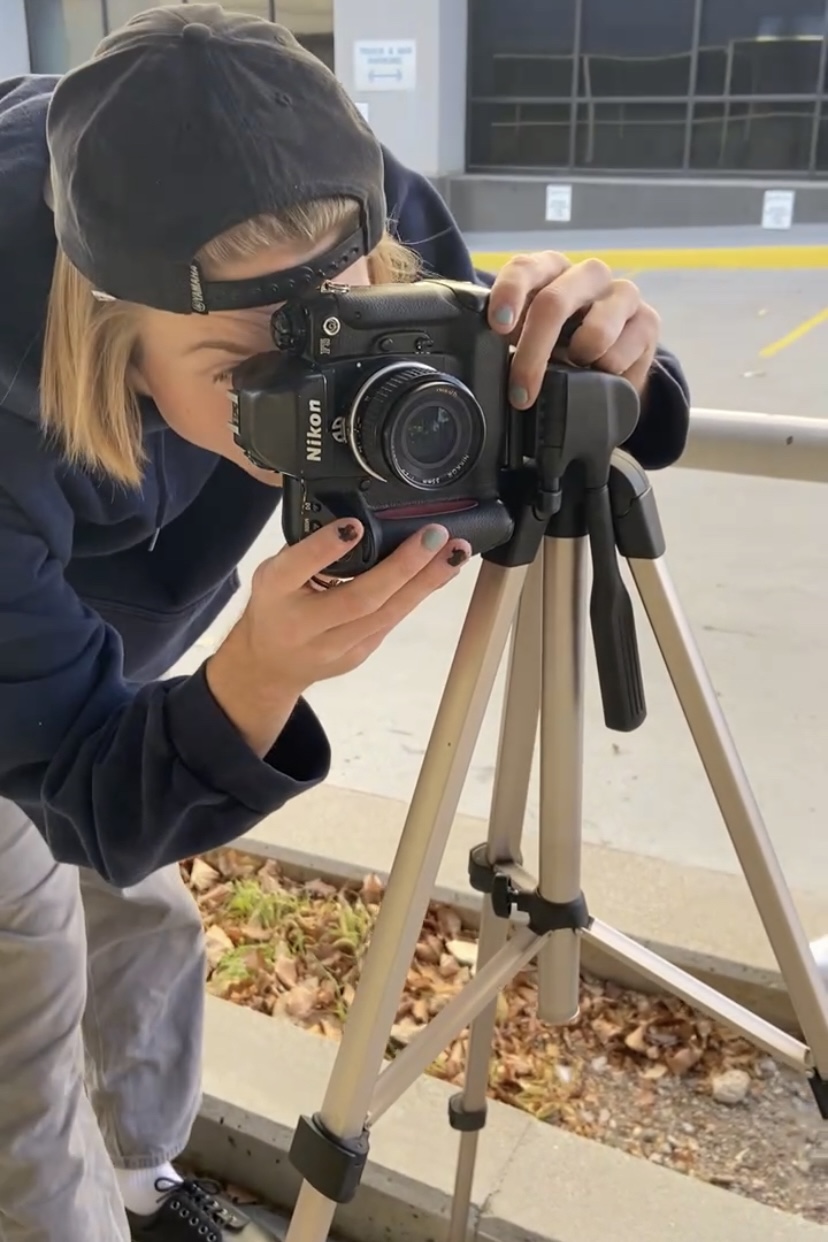
To get the shot I set up on the tripod, had my sister sit approximately where she would end up then did a couple practice takes and sent it. As you can tell from the final gif it worked out well. WAY better than I was expecting.
And if you think I had the idea to do this all on my own well I didn’t :/ take a look at this cool old advertisement for the F5 when it first came out.
As always thanks for reading and tune back in next week (if I can get on top of my posting schedule) for the next one!